Table of Contents
- The Golden Rule: Always Back Up First
- Create a Staging Environment for Safe Testing
- Identify and Preserve Customizations
- Update Methodically: One at a Time
- Use Maintenance Mode to Control Visitor Access
- Testing and Validation
- Maintaining Interactive Map Elements
- Automated Updates and When to Avoid Them
- Conclusion
1. The Golden Rule: Always Back Up First
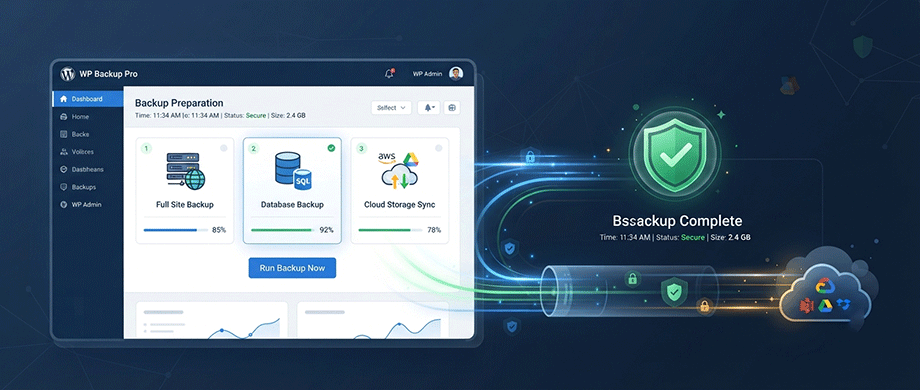
Why Backups Are Non-Negotiable
Updates can break your site in several ways:
- Plugin conflicts: A new plugin version may conflict with another plugin or your theme.
- Theme changes: Template or CSS updates can disrupt your layout.
- Customization loss: Direct theme file edits are erased by updates.
- Core update issues: Though generally safe, WordPress core updates can occasionally cause problems.
Backup Options
Several approaches work for creating backups:
- Backup Plugins: Use a dedicated WordPress backup plugin. These can create full site backups including database, plugins, themes, uploads, and core files—with one-click restore.
- Hosting Panel Backups: Many hosting dashboards allow instant on-demand backups. You can create a backup before updating and restore with a single click if needed.
- Smart Reminder Features: Some backup plugins include smart notification systems that automatically prompt you to create a backup before updating plugins or themes.
What to Back Up
A comprehensive backup includes:
- Database: All your content, settings, and user data.
- Theme files: Your active and inactive themes.
- Plugin files: All installed plugins.
- Uploads: Images, media, and other uploaded files.
- Core WordPress files: wp-admin, wp-includes, and root files like wp-config.php.
2. Create a Staging Environment for Safe Testing
The Power of Staging Sites
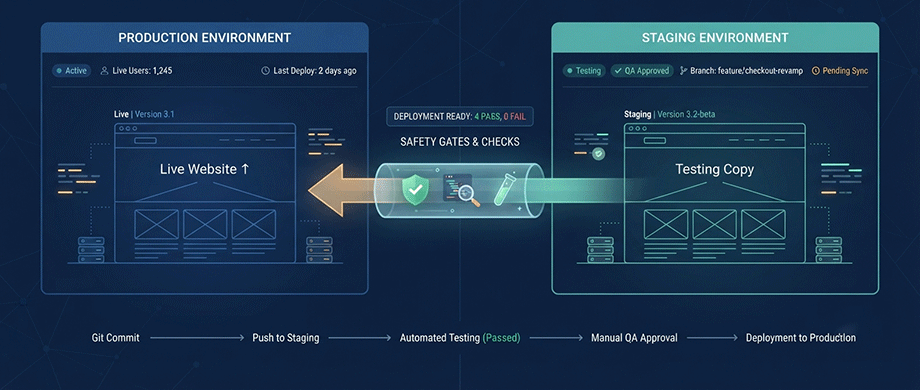
Updates should always be tested before they reach your live site. A staging environment is an exact clone of your production website where you can test changes safely. This prevents:
- Visitors seeing broken layouts.
- Downtime during updates.
- Customer-facing issues from plugin conflicts.
How Staging Works
Modern staging plugins run in full isolation, so your live site stays untouched even during operations. The staging site is created as a copy of your production environment, allowing you to:
- Test plugin and theme updates safely.
- Preview how updates will affect your site before going live.
- Debug display issues and plugin compatibility in a controlled environment.
- Keep a working backup ready in case something goes wrong.
Staging Solutions
Hosting-Provided Staging: Many managed WordPress hosts include one-click staging environments in their plans.
Staging Plugins: WP Staging is a dedicated staging plugin with a next-generation engine that is up to 80% faster for creating, updating, and pushing staging sites—with zero performance impact on your live site during operations.
Best Practice for Staging
Run your staging site on an environment as close as possible to the production server. This is the best way to catch compatibility issues before they affect your live site. For WooCommerce sites, prevention is cheaper—and less stressful—than fixing a broken site later.
3. Identify and Preserve Customizations
The Risk of Direct Edits
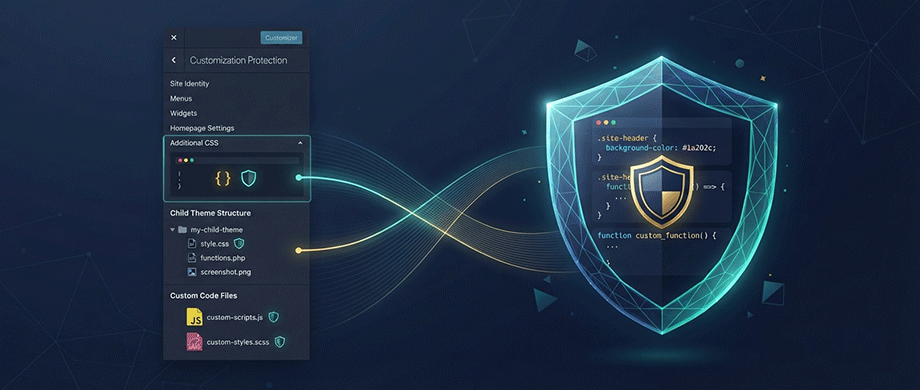
If you've edited theme files directly—like style.css, header.php, or functions.php—an update will erase those changes. This is one of the most common causes of broken layouts after updates.
Before updating, check:
- Custom CSS in the Customizer: Go to Appearance > Customize > Additional CSS to see what styling you've added.
- Theme file edits: Review any changes made to theme template files.
- Customizer settings: Export these using a plugin like Customizer Export/Import if you want to preserve design tweaks.
The Child Theme Solution
Using a child theme protects your custom code and styling from being erased during theme updates. A child theme is a separate theme that inherits the parent theme's functionality while allowing you to make customizations that persist through updates.
Plugin Customization Considerations
If you've made customizations to plugin files—perhaps to map tooltip styles or interactive features—these will also be lost when the plugin updates. Always note which plugins you've customized and reapply changes after updating.
4. Update Methodically: One at a Time
The Sequential Approach
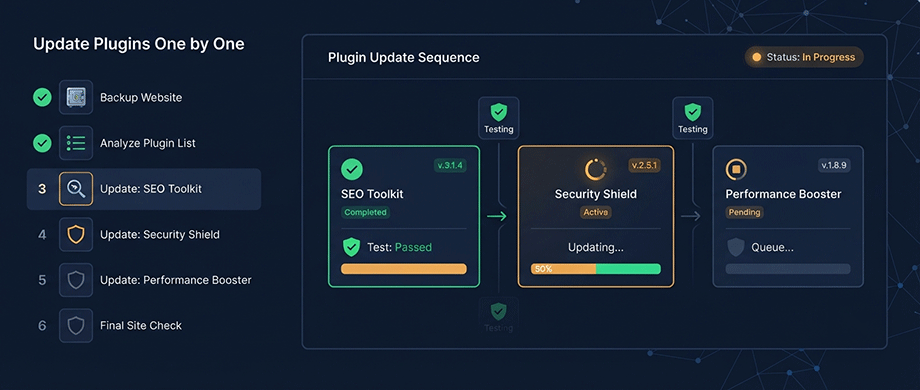
Update plugins and themes one by one, testing your site after each update. This is the safest approach because:
- You can isolate which update caused any issue.
- Rollback options are available if one update breaks something.
- You catch problems early before they compound.
Update Workflow
Step 1: Identify available updates:
- Go to Dashboard > Updates to see all available WordPress core, theme, and plugin updates.
- Review each changelog to understand what's changed.
Step 2: Update plugins one at a time:
- Update the first plugin.
- Test your site (homepage, key pages, map interactions).
- Proceed to the next plugin only if all tests pass.
Step 3: Update themes individually:
- Same sequential approach as plugins.
- Pay special attention to layout and styling after theme updates.
Step 4: Test thoroughly:
- Check homepage layout, menus, widgets, and post templates.
- Verify interactive features like maps, forms, and e-commerce.
- Use your browser's developer tools to check for console errors.
What If Something Goes Wrong?
If you update everything at once and something breaks, you won't know which update caused the problem. The sequential approach lets you:
- Identify the problematic plugin or theme immediately.
- Roll back that specific component using a rollback plugin.
- Restore from backup if rollback fails.
5. Use Maintenance Mode to Control Visitor Access
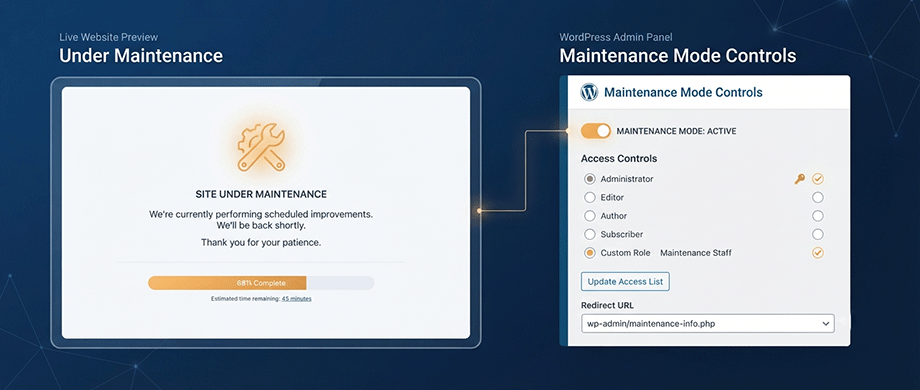
Why Maintenance Mode Matters
During updates—especially if you anticipate downtime—enable maintenance mode. This temporarily blocks visitor access while displaying a custom maintenance page. Benefits include:
- Professional experience: Visitors see a branded page instead of a broken site.
- Search engine protection: Proper 503 status signals search engines that downtime is temporary.
- Controlled testing: You can work without visitors seeing partial updates.
- Access control: Allow administrators to view the site while others see the maintenance page.
Maintenance Mode Plugins
Several WordPress plugins offer maintenance mode functionality:
Maintenance Plugin: - A PSC-certified (Plugin Security Certification) maintenance plugin with customizable design, 503 status support, and GDPR-compliant font loading.
Conditional Maintenance Mode: - Allows administrators to enable or disable maintenance mode for selected user roles, so you can work while limiting access for others.
Maintenance Work: - A simple plugin that adds a maintenance page while allowing admin users full front-end access
Best Practices for Maintenance Mode
- Enable maintenance mode before starting updates.
- Display a clear message with estimated completion time.
- Use 503 Service Unavailable status to prevent search engine penalties.
- Disable maintenance mode immediately after testing confirms everything works.
6. Testing and Validation
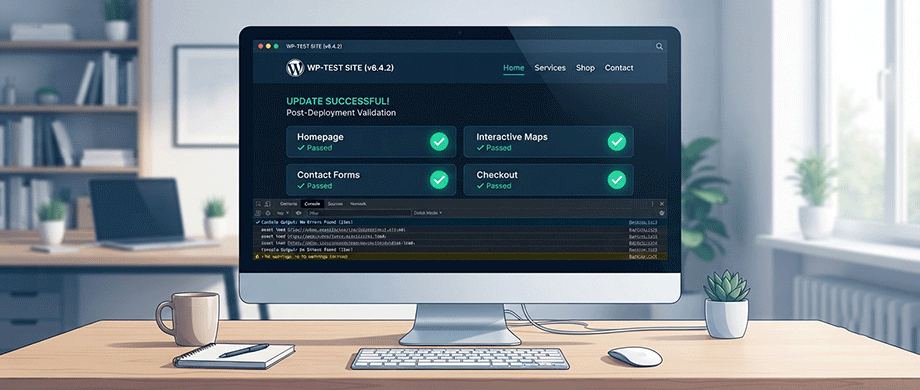
What to Test After Every Update
After each update, test these critical elements:
Visual Layout
- Homepage: headers, images, styling.
- Menus and widgets: ensure they haven't reset or repositioned.
- Blog post templates: check single post page formatting.
- Custom features: sliders, animations, page builder support.
Interactive Elements
- Interactive maps: Clickable pins, tooltips, zoom, pan.
- Forms: Contact forms, search, filters.
- E-commerce: Product pages, cart, checkout.
- Media: Images, video, galleries.
Technical Health
- Browser console errors using developer tools.
- Page load speed and Core Web Vitals.
- Mobile responsiveness.
The Dry-Run Strategy
Before making bulk changes to your content library, run a dry-run audit. Ask for a list of what will be affected before making changes. Compare the count to your expectations. This helps prevent unintended changes to unrelated landing pages.
Check WordPress Revisions
Every block change creates a revision, so you can roll back per post from the WordPress editor if a content edit goes wrong.
7. Maintaining Interactive Map Elements
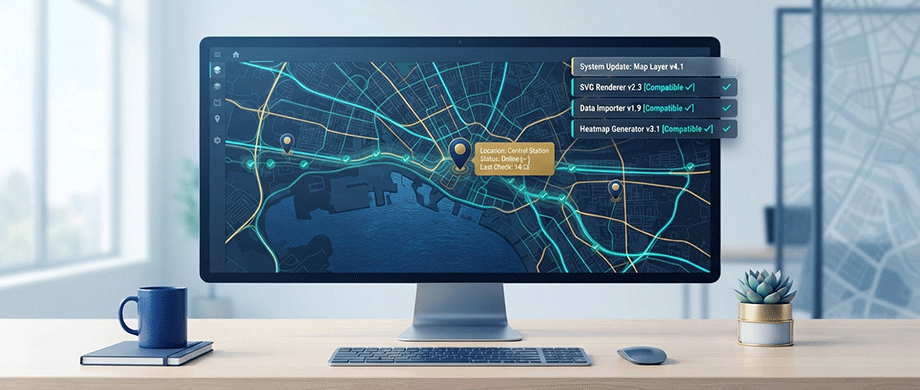
Special Considerations for Map Plugins
When your site relies on interactive maps—whether SVG-based or using Google Maps API—update maintenance requires extra care:
Backup Map Data: Your map pins, coordinates, tooltip content, and custom configurations should be backed up before any plugin update.
Test Map Functionality: After updating a map plugin, test all interactive elements:
- Pins and markers load correctly.
- Tooltips display properly.
- Zoom and pan work smoothly.
- Links and CTAs in map tooltips function.
- Mobile responsiveness remains intact.
Check API Dependencies: If using Google Maps, ensure your API key still works and you haven't exceeded limits. SVG map plugins have no such dependencies.
Staging for Map Updates: Test map updates on staging first. This is especially important for complex interactive maps with many pins and custom configurations.
8. Automated Updates and When to Avoid Them
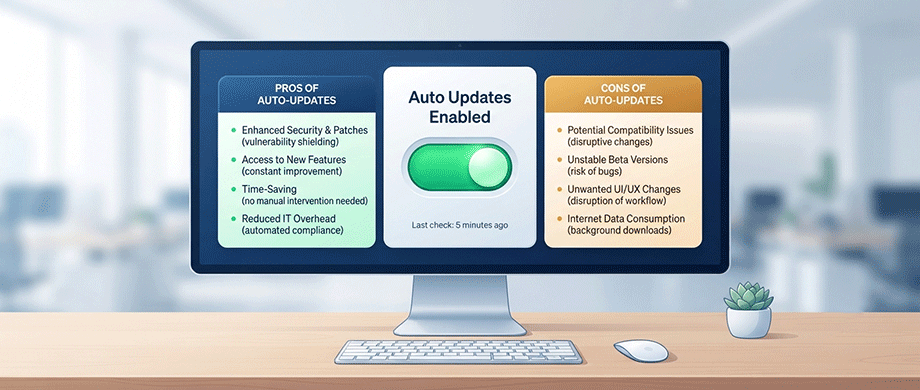
When Automatic Updates Make Sense
For simple, low-maintenance sites, automatic updates save time and keep your site secure without manual checks.
Consider auto-updates for:
- WordPress core minor and security releases.
- Well-maintained, reputable plugins.
- Simple sites with limited custom functionality.
When to Avoid Automatic Updates
Skip automatic updates if:
- You've heavily customized your theme or plugins.
- You need to test updates first to avoid breaking your layout.
- Your site handles e-commerce or customer data.
- You use complex interactive features like custom maps.
Semi-Automated Approach
Some backup plugins can notify you before updates, reminding you to create a backup before updating plugins or themes. This combines security with control.
Conclusion: Build a Sustainable Maintenance Workflow
Safe WordPress maintenance is not complicated, but it requires discipline. The risks are real, but the workflow is straightforward:
- Back up first.
- Test on staging.
- Update one at a time.
- Test thoroughly.
- Preserve customizations.
Following these practices ensures that your website—whether a travel blog with interactive maps or a real estate platform with property portfolios—stays secure, functional, and professionally presented.
If you are ready to build a WordPress site with interactive maps that are easy to maintain and update, discover how our premium Interactive WordPress Map Plugins can help you create stunning, self-hosted SVG maps with zero external dependencies—so updates are simple, predictable, and won't break your layouts.

About the Author
Botrous Kerolos has been designing and building interactive maps for the web since 2009 — from early Flash/SWF maps to modern SVG — and leads development at WP Map Plugins, helping WordPress sites turn static content into fast, accessible, interactive experiences.